
In this article, we will give you some tips on making a cut-away for a washbasin and placing the countertop.
How do I make the mould for a concrete counter top?
A mould for a counter top is best made from a piece of Styrodur or Roofmate. This is relatively hard XPS foam that is easily processed and can also absorb the forces that result from shrinking.
The ends are taped off with a few layers of packing tape. Using the sealant tool from the Starter Pack you then make a nice sealant joint. If you take an 18-20 mm (0.7-0.8 inch) thick piece of foam, you can simply screw on the inner mould. The mould for the washbasin cut-away can be made the same way.
The inner mould can be neatly screwed on top of that. The inner mould should have an angled side (about 10 degrees) to make it easier to get it loose and absorb forces resulting from shrinking. It is advisable to remove the inner mould after two days. After that, the product does need to be covered with plastic to prevent it from drying too quickly.
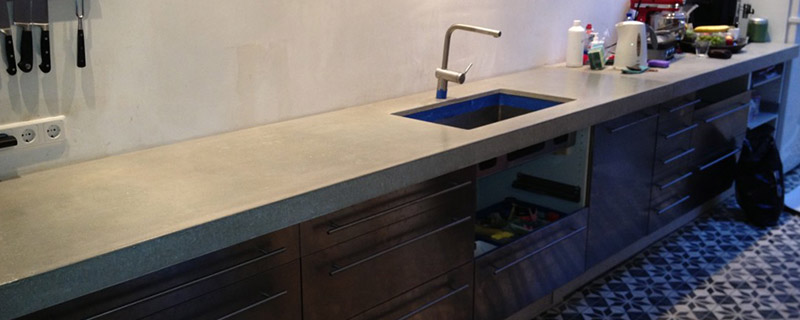
The Washbasin
For a washbasin, you can simply take a stainless steel washbasin and use a polymer kit (e.g. Bison MS polymer) to glue it to the underside of the countertop. Treat the concrete where the glue is used with Sealer 1 or a suitable primer. You can also support the basin on some slats that rest atop the cabinets.
How do I place the countertop?
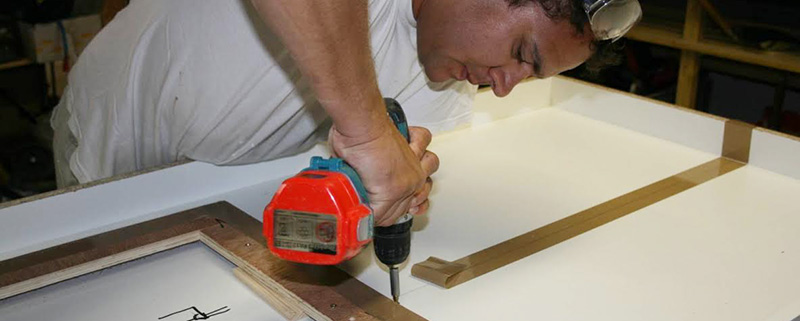
The countertop itself is placed on a shim around 3 to 4 mm (1/8 inch). Just rest it on the cabinets. You could screw a slat to the wall along the backside.
The joint created is filled with polymer sealant. Once that hardens, remove the shims. You have created a solution that prevents concentrated loads.