
In this article, we will give you tips on the most common problem with concrete: Small holes; what is going on and how do I solve it?
The mixture
The mixture of CTRE is designed so that it only needs a minimal amount of water. The NR. 4 SuperSealz is responsible for that you only need a little bit of water.
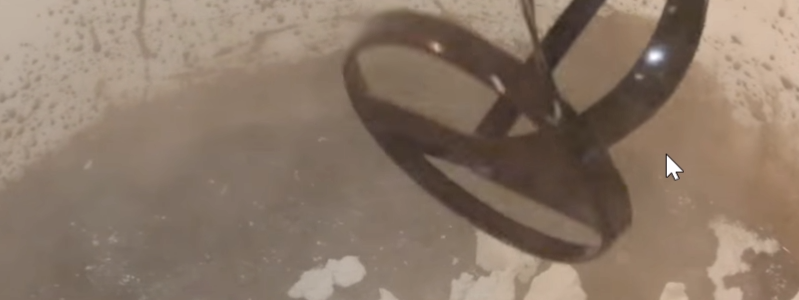
When you are mixing the ingredients all together, air can be trapped within the product. You can reduce the amount of air by slowing down the mixer speed and letting the mixture rest for a while before pouring into the mould. You should never add more water as this won’t do any good.
Pinholes
Sadly, even though you followed the instructions, sometimes very small holes called pinholes are formed. However, these are easily filled with the RepairKit. Luckily for you these pinholes are of little influence on the strength of the final product.
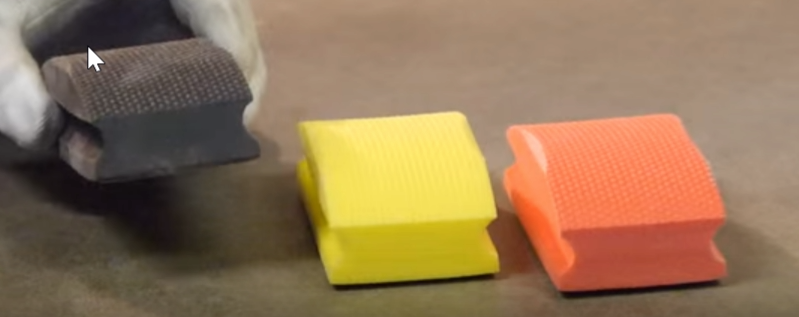
If you’re filling up holes, we have got some tips for you. Make sure you polish your product the way you want the end result to be. This means using a 200 and 400-grit. Make sure you clean your product well using tap water. If you leave the remains from polishing it will become more difficult to apply the paste, especially in smaller holes, and make adhesion more difficult as well.
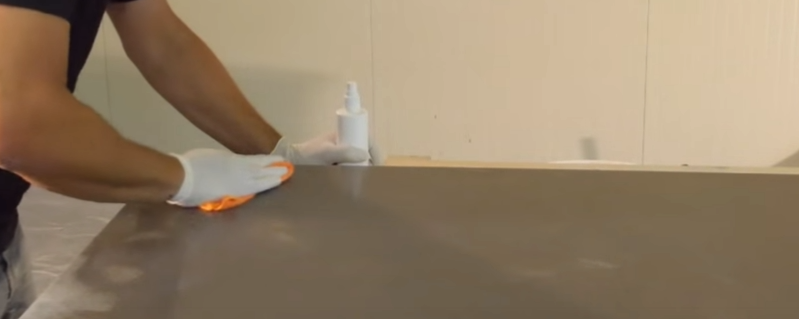
Let it dry and treat the surface with Sealer 1 twice. This way, you fixate the remains that are still in the pinholes and the Repair Paste will adhere better. Meanwhile, mix up the RepairKit (No. 7 and 8). Don’t make it too thick! This product can be mixed with water because it is not based on cement. Rub the paste into the holes with a sharp filling-knife as well as you can. Let it dry (the water will be sucked into the concrete) and repeat this two to three times, as necessary. Remove the excess and cover your product with plastic. This is especially important in warm weather, so the concrete doesn’t harden too quickly.
Let it harden for two days, and polish away the excess of the Repair Paste with generous amounts (!) of water and a 400-grit sander. You will notice this is quite simple. Afterwards, simply seal it as shown in video no. 4.